How to back up files from Mac to Synology NAS with Time Machine
Overview
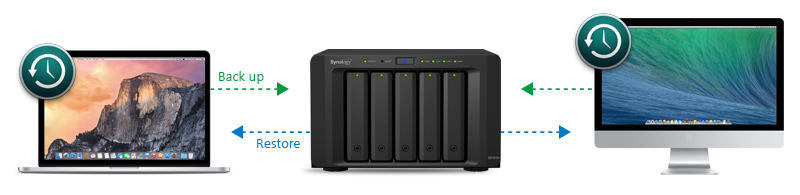
This article will guide you through the process of backing up data from your Mac OS X computer to a Synology DiskStation using Apple's Time Machine, a backup utility included in Mac OS X 10.5 and later.
1. Set up DiskStation to support Time Machine
Before setting your DiskStation as the destination for Time Machine, you'll need to login to DSM and change a few settings.
1.1 Create a user for Time Machine and set quota limit
- Login to DSM with an account belonging to the administrators group.
- Go to Control Panel > User and click Create.
- Enter a username (such as "Time Machine User") and specify a password. Then click Next.
- Click Next.
- Click Next.
- In this example, we'll back up data to Volume 1. However, we don't want Time Backup to occupy the entire volume, so we'll enable a usage quota. On the User quota setting page, click the box under Enable quota. Then enter a value in the Quota field. For example, we'll set a quota of 200 GB on Volume 1.
- Click Next.
- Click Next.
- Click Apply.
- Now we should have a user called Time Machine User. Please proceed with the following section to create a shared folder.


Minimum Volume Space: We recommended you set a quota to prevent Time Machine from occupying your entire volume. In general, the quota should be at least two or three times the size of your Mac's hard drive or the amount of data to back up.


1.2 Create a shared folder for Time Machine backup
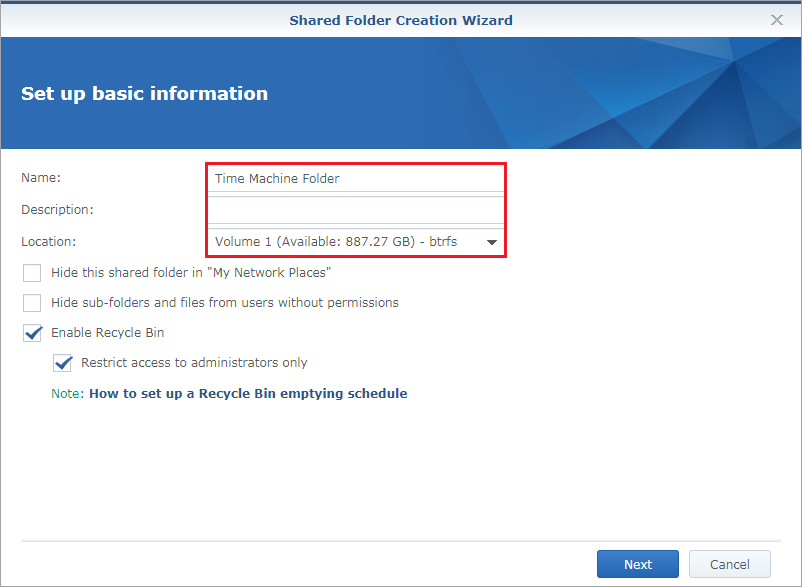
- Go to Control Panel > Shared Folder and click Create to create a shared folder.
- Enter a name for the shared folder (such as "Time Machine Folder") and select a location (if multiple volumes exist). In this example, we'll choose Volume 1 (the same folder we specified earlier when setting up the usage quota).
- Make sure "Time Machine User" is assigned read/write permission for the new shared folder. Click OK.
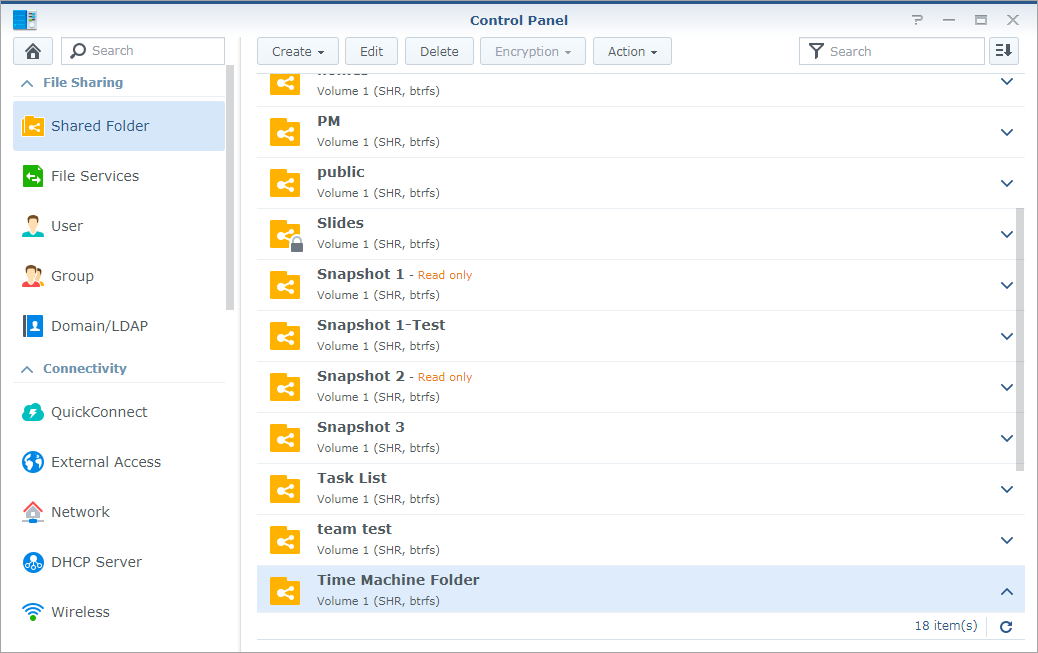
- Now you should see the newly-created shared folder.


1.3 Set the shared folder as Time Machine's backup target
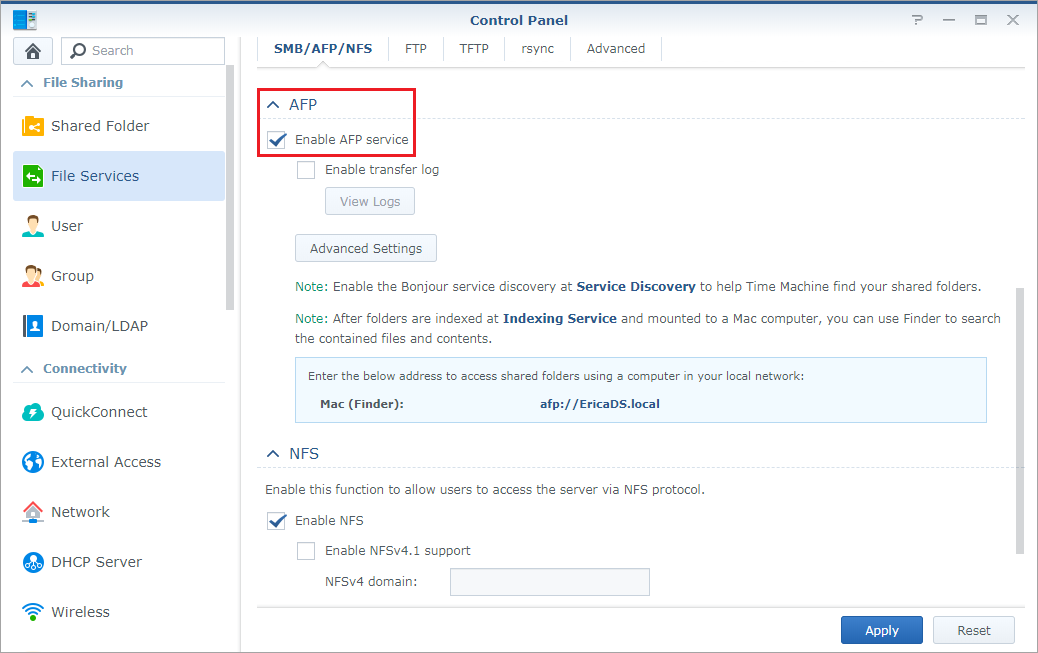
- Go to Control Panel > File Services.
- Find the Mac File Service section.
- Check the box Enable Mac file service, and choose the shared folder you just created from the Time Machine drop-down menu.
- Click Apply to save settings.


2. Perform Time Machine Backup to DiskStation
This section will show you how to configure Time Machine to set DiskStation's shared folder as the backup destination. This process allows Time Machine to easily locate your DiskStation on the local area network and regard it as the backup disk. When the setup is complete, Time Machine will be able to start backing up data to the DiskStation.
2.1 Configure Time Machine to set DiskStation as its backup disk
- On your computer, choose Apple menu > System Preferences, and click Time Machine.
- If Time Machine is off, slide the switch to ON.
- Select the shared folder you just created.
 Shared folder doesn't appear? If your shared folder does not appear, try connecting to and mounting the shared folder via AFP. To do so, go to Finder > Connect to server... and enter the address of your DiskStation.
 - Enter the username and password of the user you just created, and click Connect.
- Time Machine will start backing up data soon after.


3. More Information
If you would like to learn more about Time Machine, you can consult Apple's Time Machine support page.
No comments:
Post a Comment